Showing posts with label Craft. Show all posts

Thursday, February 25, 2016

Every year when January rolls around, you vow to eat right, save money or spend more time with family and friends. But what goals do you set for your home? This year, get inspired to freshen up your interior design and try a new trend.

“The New Year brings fresh perspective and it's the perfect time to experiment with décor,” says Taniya Nayak, interior designer and DIY television personality. “In 2016, you'll be seeing a lot of personalized spaces, textured surfaces and bright color palettes that will surely inspire you to put a unique spin on your style.”

DIY Project Ideas!

1. Presswork Palette
Easily personalize any space by incorporating text - think monograms, family names or inspirational quotes. Adding an uplifting quote or message to a room, whether on a small pillow or large piece of subway art, will create a positive atmosphere and generate conversation. Text can be placed anywhere throughout the home and will also help set the tone for your space.
“Have fun by playing around with various fonts and sizes to create different moods throughout each room,” says Nayak. “Letters can be sharp and defined to create a contemporary and stylish aesthetic, or soft and casual to give life to a space so it feels elegant and timeless.”

2. Nature's Patterns
If you're looking to achieve a clean interior space with lots of detail, try using simple designs inspired by nature. These patterns are organic and include shapes such as honeycombs, florals and leaves. “When honing in on the details found in these elements, it's easy to see there are countless designs created,” explains Nayak. “Pair these with neutral colors that have warm or cool tones for a soothing atmosphere, or blow them up and paint them in a bright color for a bold statement.” You can also integrate natural patterns through accent pieces such as light fixtures that have reflective metals to mimic sparkling water or a textured jute rug to bring the outside elements inside.

3. Digitally Defined
“Geometric shapes and angles have become associated with technology; this evokes creativity and innovative design because they're edgy and create movement,” said Nayak. One great way to incorporate this trend within a space is using geometric floor tiles in different colors. The edginess of the tile with the mix of color will keep your eye constantly moving. Geometric shapes alone, like in a light fixture with lots of edges, will also create a dramatic and stunning statement.
You can also incorporate this trend with pixelation for a modern and clean look. Pixelated artwork made up of monochromatic cubes can be simplistic and fit in a variety of spaces. To add an element of curiosity to a room, try a piece of artwork that focuses on cubes and colors that are irregularly spaced.

4. Fresh and Fab
Multiple bright colors mixed together create a crisp and fresh interior and elevate the mood in any space. “Fun saturated colors, such as yellow and blue, produce an energetic and happy feeling,” said Nayak. “Let your imagination run wild and paint a bold accent wall for an eye-catching statement. Or paint an antiqued piece of furniture a bright color for an unexpected combination of modern and traditional elements.”
“When it comes to painting an accent wall or furniture, one of the most important tools you need is a premium painter's tape, like FrogTape® brand painter's tape,” added Nayak. “Treated with PaintBlock® Technology, FrogTape brand Multi-Surface and Delicate Surface tapes can be used on a variety of surfaces and deliver sharp paint lines, making your handiwork look like that of a professional.” Incorporating flowers and fruit is a great way to enhance a space with color and aromas, instantly making a room feel fresh.

5. Textured Terrain
Forget smooth finishes - rough edges and raw materials are in for 2016. From transformed wood pallets to worn leather or tin ceilings, raw materials that are aged offer a great deal of texture and help give a space dimension.
“A great way to make a raw material feel beautiful is by incorporating it into an application you would not typically think to use the material,” explains Nayak. “For example, utilizing concrete on a wall instead of the floor will create a clean and raw space that will reflect simplicity and unity.” For smaller scale projects, home décor items such as furniture can easily be made to look aged by adding paint and other finishes for a distressed look.

6. Well-Traveled Global Style
Create a space that is warm and friendly by incorporating global influences. This trend includes vibrant colors, patterns and exotic textiles that can be brought in through painting, wall décor or accessories. A parade of patterns from different cultures can feel modern and fresh when used together.
“Don't be afraid to mix multiple prints within a space; having a variety of patterned pillows, rugs and wall décor is a great idea,” says Nayak. “Make sure to tie these patterns together by carrying a similar color throughout each element in the room.”
“When trying a new trend, make sure it accurately represents your style - and remember you don’t have to go all out,” adds Nayak. “Any of these trends can be incorporated into your home as little or as much as you'd like through pillows, accents, rugs and paint.” The New Year is a great time to update your home and accomplish your resolution in style.
  

Thursday, March 19, 2015

Jarden Home Brands, makers of Ball® brand home canning products, today announced the third and final jar in its Heritage Collection series, the new Purple Heritage Collection Jars, celebrating the 100thanniversary of the Ball Brothers' "Improved" mason jar. Available in pint and quart sizes, the Purple Heritage Collection Jars feature a vintage-inspired purple color and embossed logos on front and back paying tribute to the classic amethyst jars, a collectors' favorite. These limited-edition jars are the final release in Jarden's Heritage Collection series following the success of Blue and Spring Green Heritage Collection Jars which commemorated the "Perfect Mason" and "Perfection" canning jars.
The latest Heritage Collection Jar replicates the rare and coveted purple jars from the early twentieth century. The gorgeous amethyst color originally occurred accidently due to a clarifying agent used in the jar manufacturing process. Once exposed to UV rays, the jars turned a stunning shade of purple, making them extremely popular with canners and collectors. Unlike the vintage jars, the new Heritage Collection jars maintain all of the modern standards for home canning and, like all Ball brand canning jars, are Made in America and BPA-free. A few recommended preserving recipes to pair with the Purple color include Beet & Onion Pickles, Blueberry Syrup and Cherry Pie Filling.
"The Do-It-Yourself, canning, and creative communities cherish the Heritage Collection Series Jars and we're thrilled to provide one last edition in a color beloved by all of them," said Steve Hungsberg, Director of Marketing at Jarden Home Brands. "Many of our community members requested purple as the final color for the Heritage Collection Series and we're excited to see what folks make and share in their jars this canning season."  
The perfect addition to any kitchen for fresh preserving, food storage and decor uses, the new Heritage Collection jars are produced only in 2015 and will be available while supplies last in retailers nationwide and on FreshPreservingStore.com  for $9.99 - $12.99.
For more information on all Ball brand canning products, visit www.FreshPreserving.com or the brand's social media channels including Facebook (www.Facebook.com/BallCanning), Twitter (www.Twitter.com/BallCanning) and Pinterest 

Saturday, August 16, 2014

Did You Know: The History of the Sewing Machine

An invention that has had a profound impact on our use of fabrics and on the nation's economy was patented on this date in 1851 — the home sewing machine, developed by Isaac Singer. The idea of the sewing machine — and some working models — went back to nearly a century before 1851. But Singer's simple, sturdy machine was the first to be a commercial success. While far fewer people sew at home as avidly as was done in the 19th century, the modern and industrial versions of Singer's machines are the thread that runs through the nation's nearly $150 billion a year apparel and piece goods industry. Some 15,000 establishments employ about 180,000 workers in the manufacture of clothing. You can find current data on the country's economy by downloading the America's Economy mobile application at www.census.gov/mobile.

Saturday, October 6, 2012

Crafting with Epsom Salt

While Epsom salt is hundreds of years old, now there's a new way to use it: making crafts.

The Epsom Salt Council has added a new page to its website (http://epsomsaltcouncil.org/salt-crafts/#) with instructions for a variety of craft projects. Frost your windows, decorate champagne glasses or make sparkly Easter eggs. Whether it's Valentine's Day, Mother's Day, Halloween, the Holidays or just an uneventful day at home, Epsom salt can help you celebrate and have fun.

"Using Epsom salt as a craft medium is becoming more and more popular," said Amanda Formaro, a former craft expert for Disney's Kaboose.com who now runs the websiteCrafts by Amanda, which offers easy tutorials for kids and adults. Formaro offered guidance to the Council as it created its new web page.

"Epsom salt is perfect for creating pretty textures for all sorts of projects," Formaro said. "And it's an inexpensive material that's readily available at discount stores, dollar stores, pharmacies and groceries."

Among the projects featured on the Epsom Salt Council's new web page:
  • Shimmering luminaries – Add sparkle to candleholders at a party or even a wedding. 
  • Greeting cards – Customize a homemade card for someone you love. 
  • Early frost fall decor – Coat your pumpkins and gourds, making an attractive fall display. 
  • Holiday jars – Paint them red, white and blue on the Fourth of July or choose different colors for other holidays. These are great for holding napkins, straws and utensils, dressing up your celebration. 
  • Snowballs – You can hang them as ornaments or place them in a basket or vase for a winter-themed centerpiece. 
"There are so many fun crafts you can do with Epsom salt, and this is another reason why it's always been one of the most versatile household products," said Epsom Salt Council Vice President Mark Vincent. "Whether it's creating a craft, relaxing with an at-home spa treatment, soothing aching muscles, boosting your garden, or nurturing your health, we are pleased that people keep finding new benefits of Epsom salt."

About Epsom salt
Epsom salt – actually magnesium sulfate – is one of the most versatile household products, with uses ranging from creating at-home spa treatments to soothing aching muscles to helping start or improve gardens to nurturing your health. It's been used therapeutically for hundreds of years, and it's gaining a new generation of fans looking for a safe, economical alternative in a sea of expensive, over-the-counter remedies. Epsom salt is easy to use, easy to find in your local pharmacy or grocery store and it costs about the same per use as a cup of coffee. For more information, please visit either www.epsomsaltcouncil.org or www.facebook.com/epsomsalt,

PR Newswire (http://s.tt/1p3hz)

Saturday, August 18, 2012

Homemade Aromatherapy


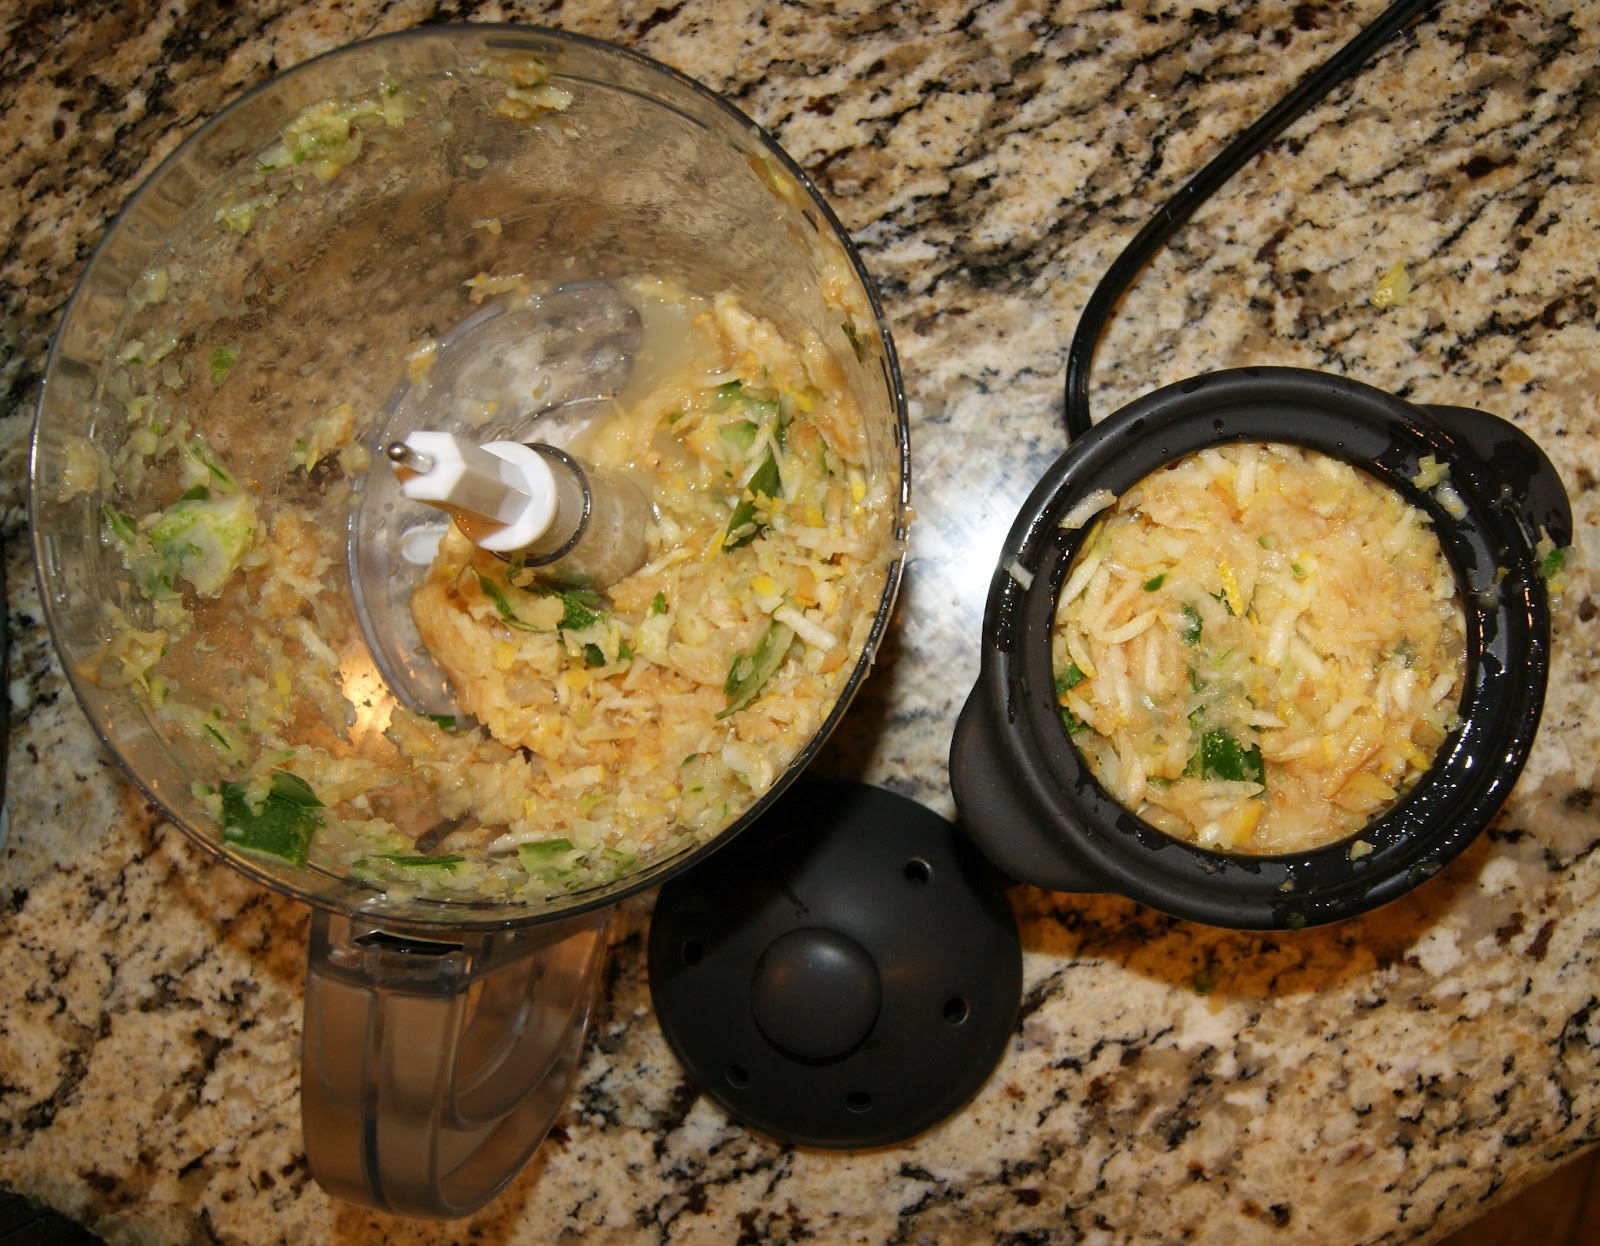
Once day this week, as I was slicing lemons for our tea, I noticed that the kitchen smelled amazing! So summery! Next I peeled cucumbers for our dinner. The summer lemon scent mingled with the fresh, clean cucumber smell. I was in olfactory heaven! I wondered how I could make the scent last longer.

Shredded lemon and cucumber peels
I remembered an small electric potpourri warmer I had put away. I hadn’t used it since we moved to the house two years ago. I guess there was a reason I hadn’t used it. It was Christmas décor – and it was cracked. I had to put my experiment on hold. I gathered up my peels and put them in the refrigerator.

On my next swath through the store, I picked up an inexpensive warmer - $10 – to see if my idea would really work.

By the time I got my warmer home, the peels weren’t as fresh as before, so I dug out my food processor and ran them through to freshen the zest. Then I spooned the mixture in the warmer. It took a few hours for the contents to heat thoroughly, but when it did, the scent was… surprising! I was expecting something maybe more like a creamy lotion-y cucumber smell. Instead mixing lemon and cucumber yielded an unexpected earthy scent – more like cut grass after a rain, very subtle notes. I discovered stirring the warm mixture helps to release even more scent. I keep the warmer next to my desk so I can indulge in the natural aromatherapy.

 I’m going to be trying some different combinations for fall. Stay tuned!

Saturday, August 11, 2012

Custom Wall Hanging on the Cheap


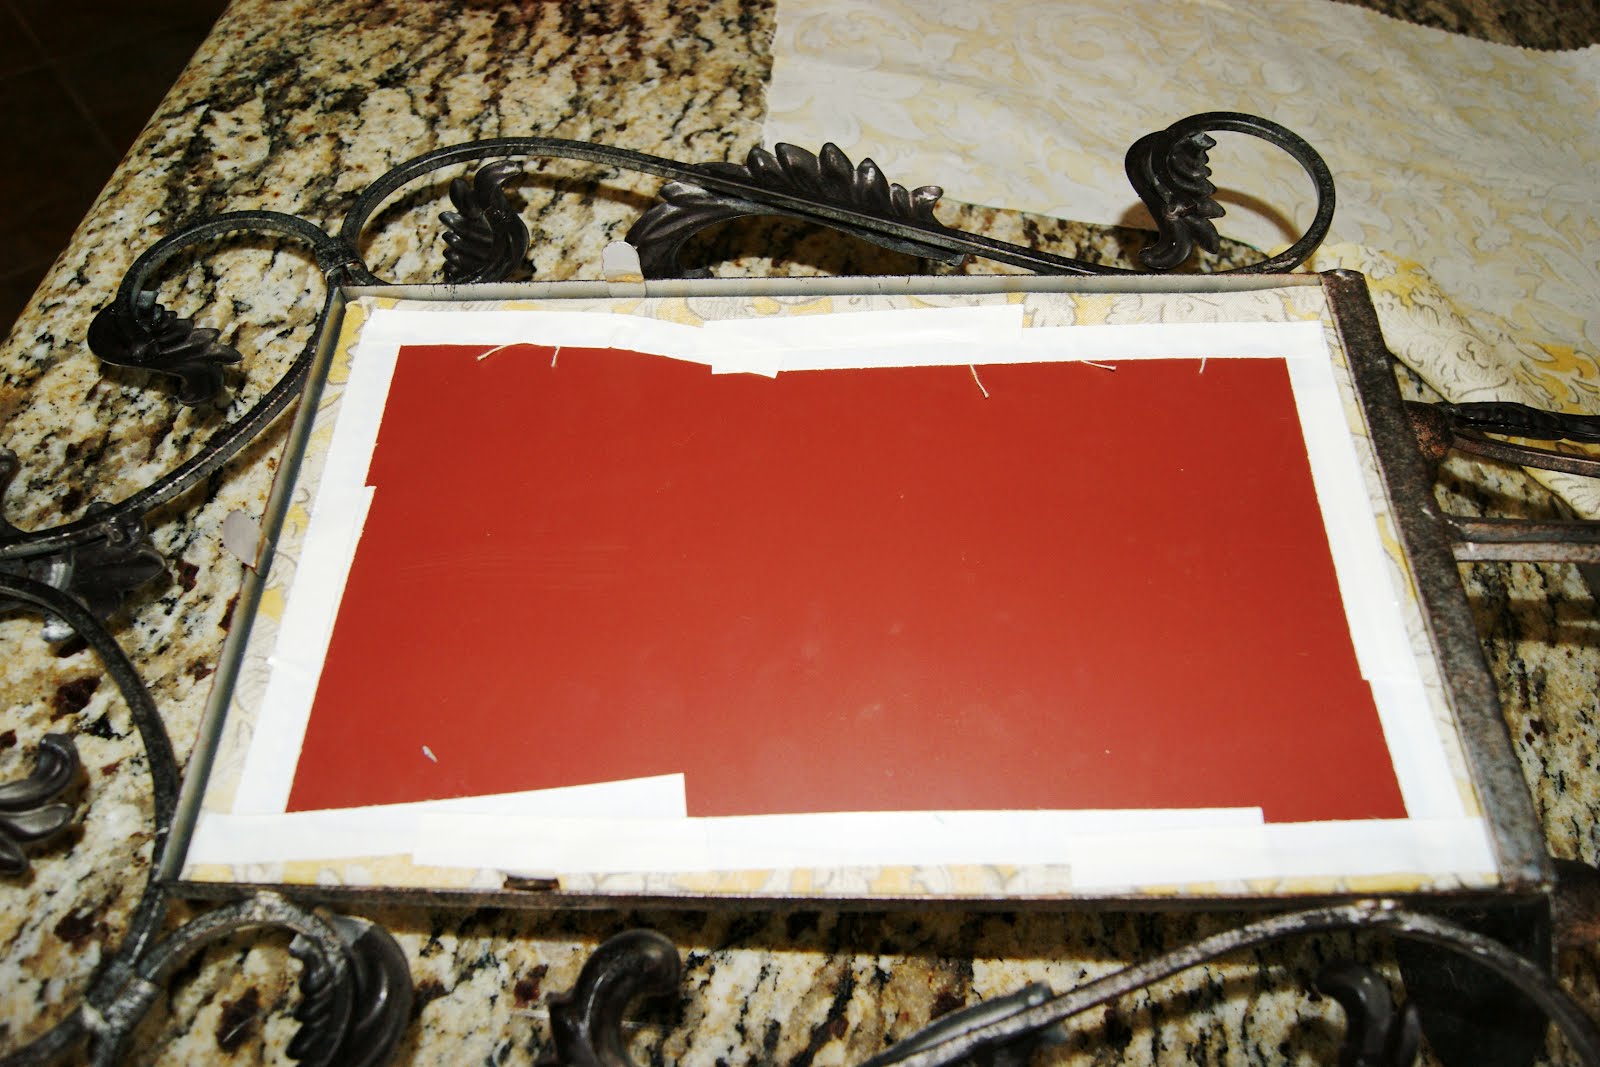
I hate throwing stuff away. If it’s not utterly destroyed, I look for ways to recycle or upcycle it. Such was the case with a pair of wall sconces I had. I don’t know where they came from originally. I think I had them when we lived in Heath, but I can’t find them any pictures from those years. At any rate, somewhere between our move from Allen to McKinney, the backing became so warped they wouldn’t hang right on the wall. The mirrors also were scrapped up and chipped. Yes, I could have very easily tossed them or put at least put them in a garage sale, but that’s the last resort. Besides, I had a perfect spot for them in my new dining room – which we had just painted an orangey – rust color.

The easiest thing, I guess, would have been to replace the mirrors, but there’s already a huge mirror in there and it wouldn’t give me the custom feel I wanted. And that would have cost money too.

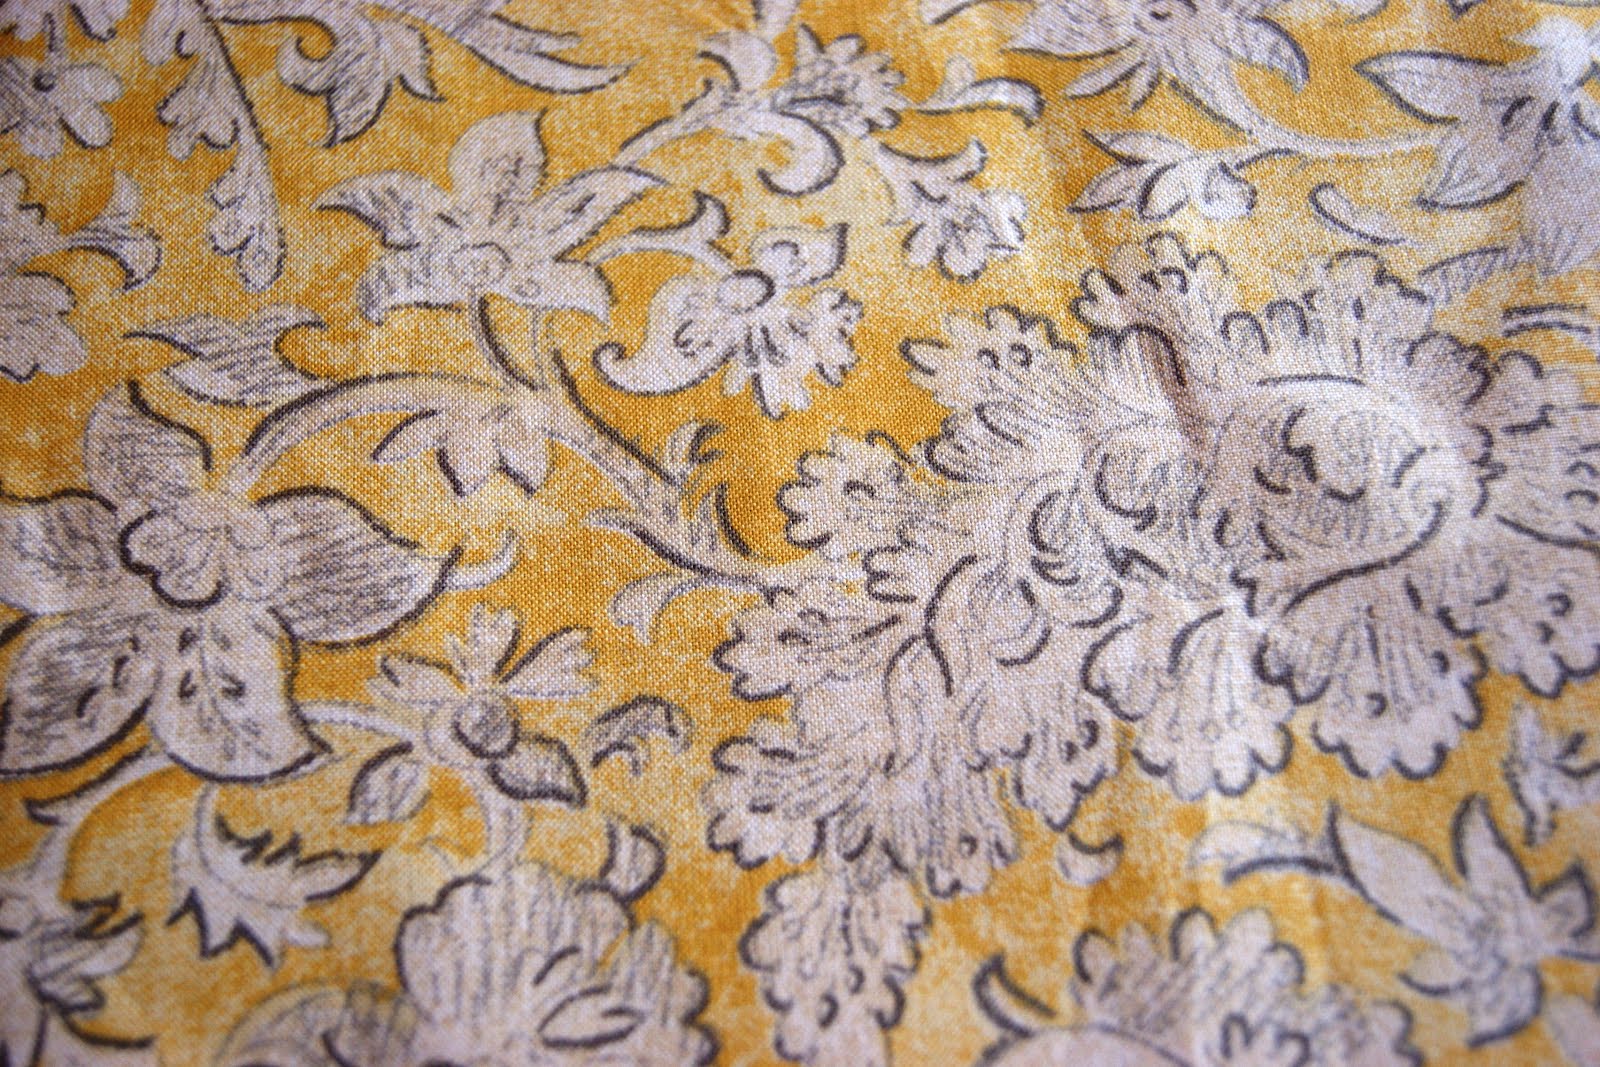
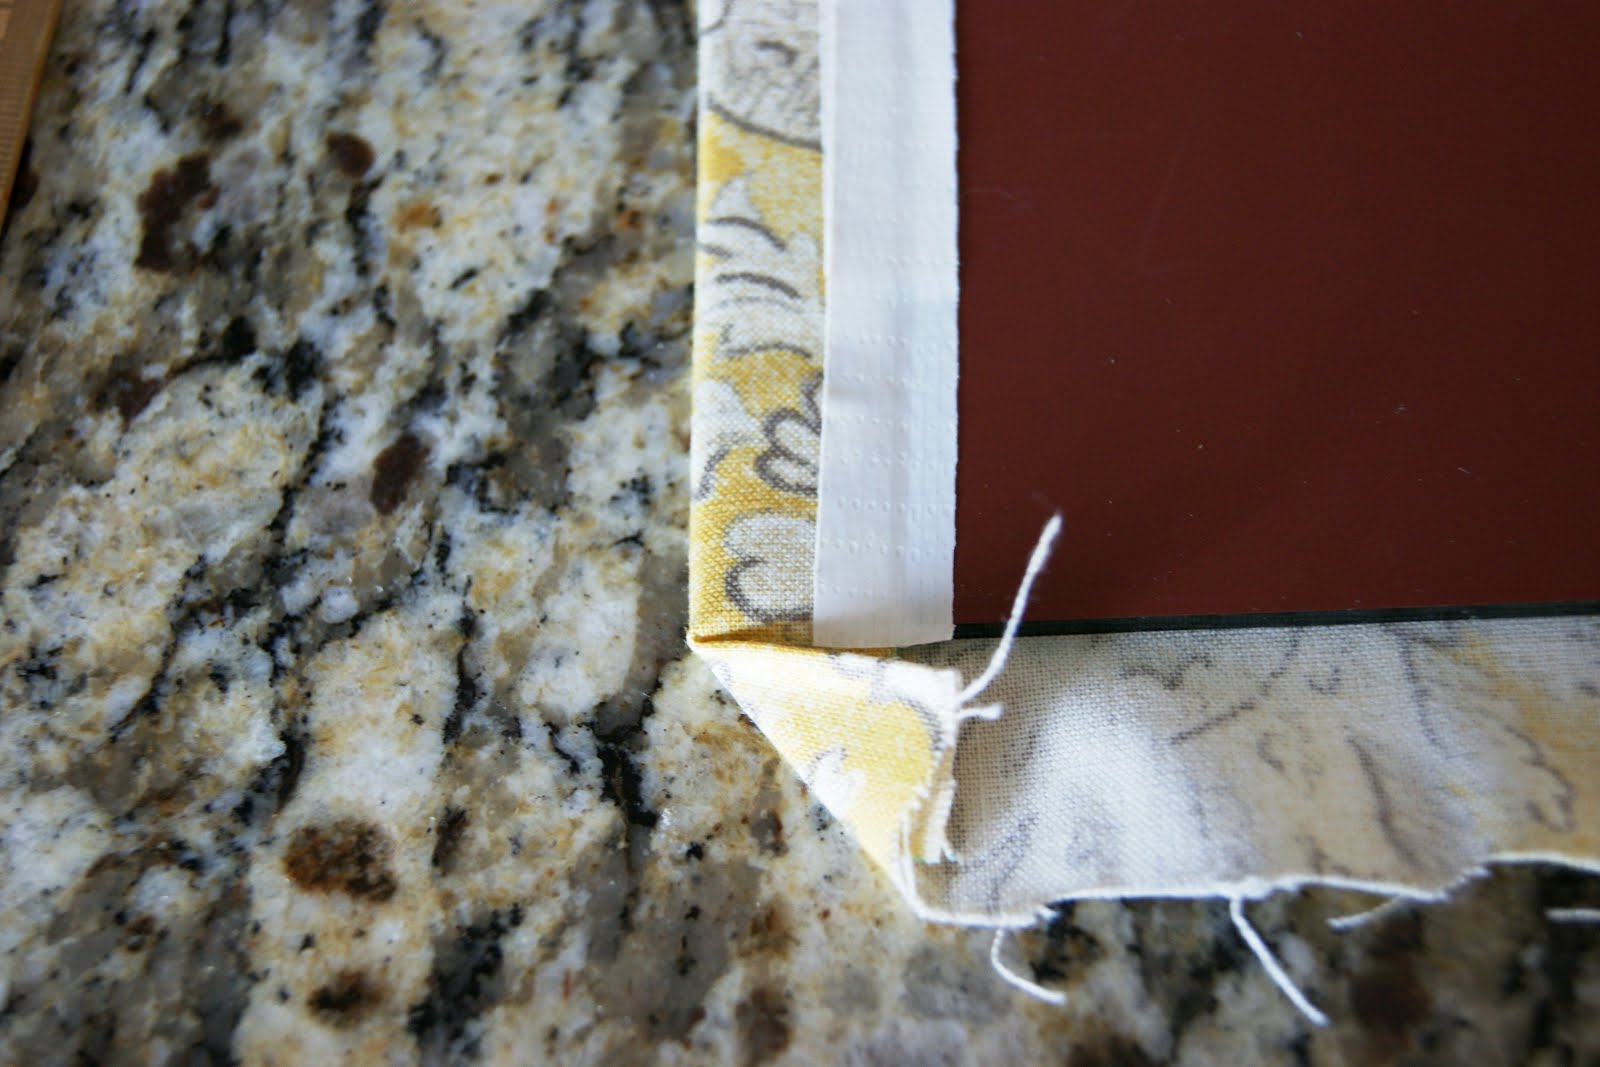
I dug around in my fabric stash and found a piece of linen that matched the room. I measured out the fabric against each mirror and added an each on all four sides. I securely and tightly taped down the fabric with masking tape, taking care to mitre fold the corners. The covered mirrors now fit more snuggly into the frame than they had before and didn’t require any backing in the frame.


Voila! Custom upholstered wall sconces to match my décor!

Tuesday, August 7, 2012

Milk Carton Art Contest for Kids

Promoting good nutrition and awareness of sustainable packaging benefits among school children are the goals of the Made by Milk Carton Construction Contest, a unique nationwide student design competition launched August 1, 2012. Schools across the U.S. can win up to $5,000 by having classroom teams design and construct creations made from empty school milk cartons. The contest, sponsored by Evergreen Packaging, promotes carton recycling and milk consumption among school-aged children. Prizes are awarded each semester for creations based on a specific theme. The theme for the fall 2012 contest is: habitats.

"Milk is an excellent source of nutrition, and with so many other beverage choices available in school cafeterias, kids need a fun, educational reason to choose milk," said Erin Reynolds, marketing director for Evergreen Packaging. "In addition to promoting better nutritional choices, the Made by Milk program teaches valuable, hands-on lessons in recycling. It also encourages leadership and teamwork skills as groups of students work together to design and construct their milk carton habitat."

Evergreen Packaging is the No. 1 manufacturer of gable-top cartons in North America and provides a significant number of school milk cartons in the United States. The Made by Milk program is part of ongoing efforts by Evergreen Packaging to raise awareness among consumers regarding the eco-friendly benefits of cartons. "Data indicates that many consumers see a natural connection between personal and planetary health, so the Made by Milk program, promoting milk consumption and recycling awareness, is a fun program in which both students and teachers can feel good about participating," commented Reynolds. Cartons are an eco-friendly packaging choice because more than 70% of milk carton packaging is paper, made from trees, a renewable resource. Currently, more than 44 million households in the United States have access to recycling programs that accept paper milk cartons.

The Made by Milk program is designed to encourage school-wide participation, as classroom teams collect the 100 minimum milk cartons required to be used in the habitat construction – generating excitement about recycling and choosing milk. Students also must write a 200-word essay on how their school will utilize the prize money.

Winning categories include:

Grand Prize – $5,000
People's Choice Award – $2,500
Elementary Winners (3 total) – $1,500
Middle School Winners (3 total) – $1,500
High School Winners (3 total) – $1,500

Entries will be accepted until November 16, 2012. Visit www.madebymilkcontest.com for official rules, contest details and creative ideas.

Source: Evergreen Packaging via PR Newswire

Saturday, August 4, 2012

Another Easy Way to Recycle Glass Jars


I turned this old glass candle jar in into my change jar. Easy! Easy! Easy!

After I thoroughly cleaned the jar, I spray painted the exterior in flat black paint. I applied three coats to make sure it was completed covered. After the paint was dry, I dry brushed it with metallic copper craft paint. Two hours later, I applied self adhesive scapebook embellishments. Voila, a plain glass has found new life collecting my pennies for Christmas.

Saturday, June 23, 2012

From Trash to Flash

I hate throwing out glass jars and bottles. There’s always a way to repurpose and keep them out of a landfill. When I finish with a jar, I clean it up and then add it to my craft stash. I may night have an idea for right then, But I never know when inspiration might strike… Like it did a few days ago.

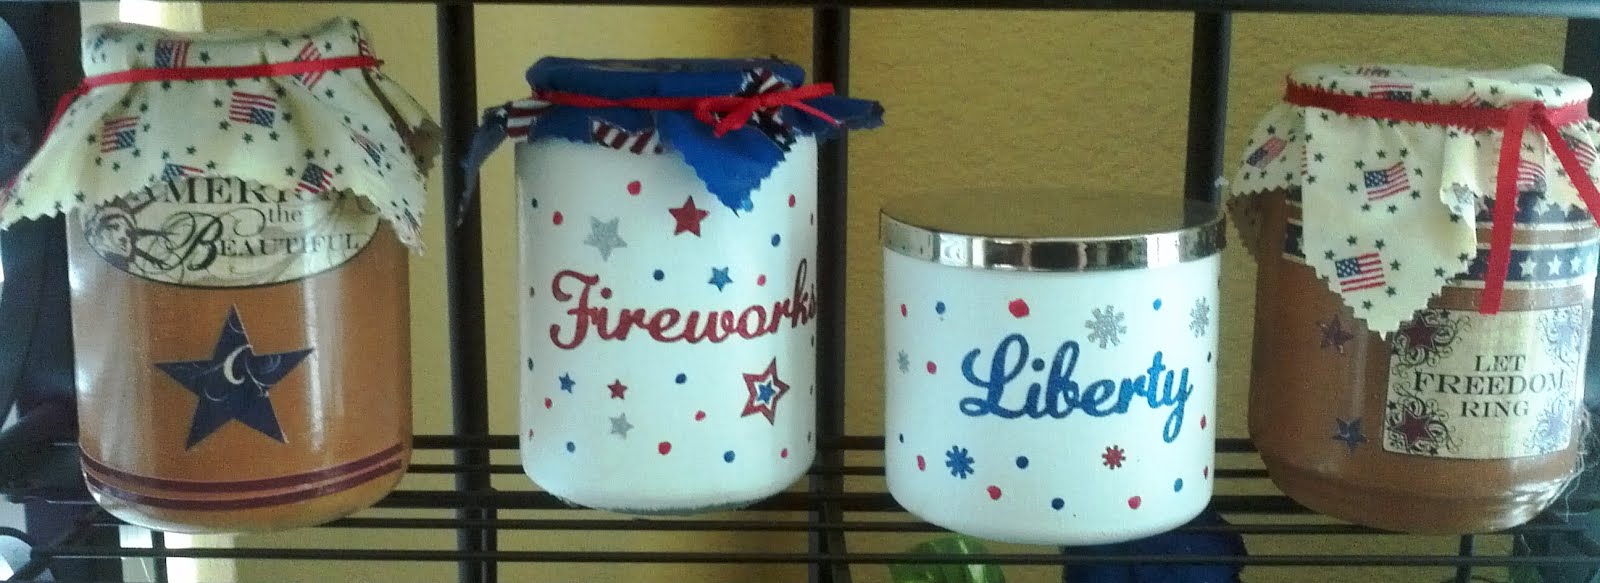
Digging through my craft stash looking for something to do, I came up with this idea for some quick Fourth of July decorations you can use year after year. For this projected, I used empty candle jars, but really, you could do this any kind of empty glass jar.

I used this project as an opportunity to see what kind of paint works best on glass – brush on acrylic craft paint or enamel spray paint. I matched the base colors to some scrapbook cut out decorations that I had. One set was rustic, muted reds and blues and the other was vivid, glittery sparkly red and blue.I don’t do scrapebooks, but I find that the cutouts come in handy for other projects – like this one, so I pick up them up when I find them on clearance.

I spray painted two jars a light tan and brush painted two a bright white. I put about three coats on all four of the jars. After they were dry, about four hours, I applied the scrapbook decorations to each of the jars using white craft glue.

The glittery pieces went on quickly and easily. Soft and rubbery, they were easy to work with on the curved surface. I accented the pieces with dots of red and blue paint. It took me less than 30 minutes to complete both jars. I set them aside to dry.

Next I worked with the rustic pieces. They were more difficult to work with because they were stuff and did not want to follow the curves and adhere to the surface. I ended up gluing down the middle first, allowing that to dry and then gluing down the sides. I took about three or four attempts to get them securely glued down.

After they were dry, I sealed all the surfaces by brushing them with white craft glue.

Three of the jars didn’t have lids, but they looked a little odd uncovered. I solved that problem by cutting squares of fabric twice the width of the jar opening. I edge the fabric with serrated scissors. Once the jars were completely dry, I secured the fabric to the jar with a rubber band and then tying a ribbon over it.


Saturday, June 2, 2012

Trash to Treasure


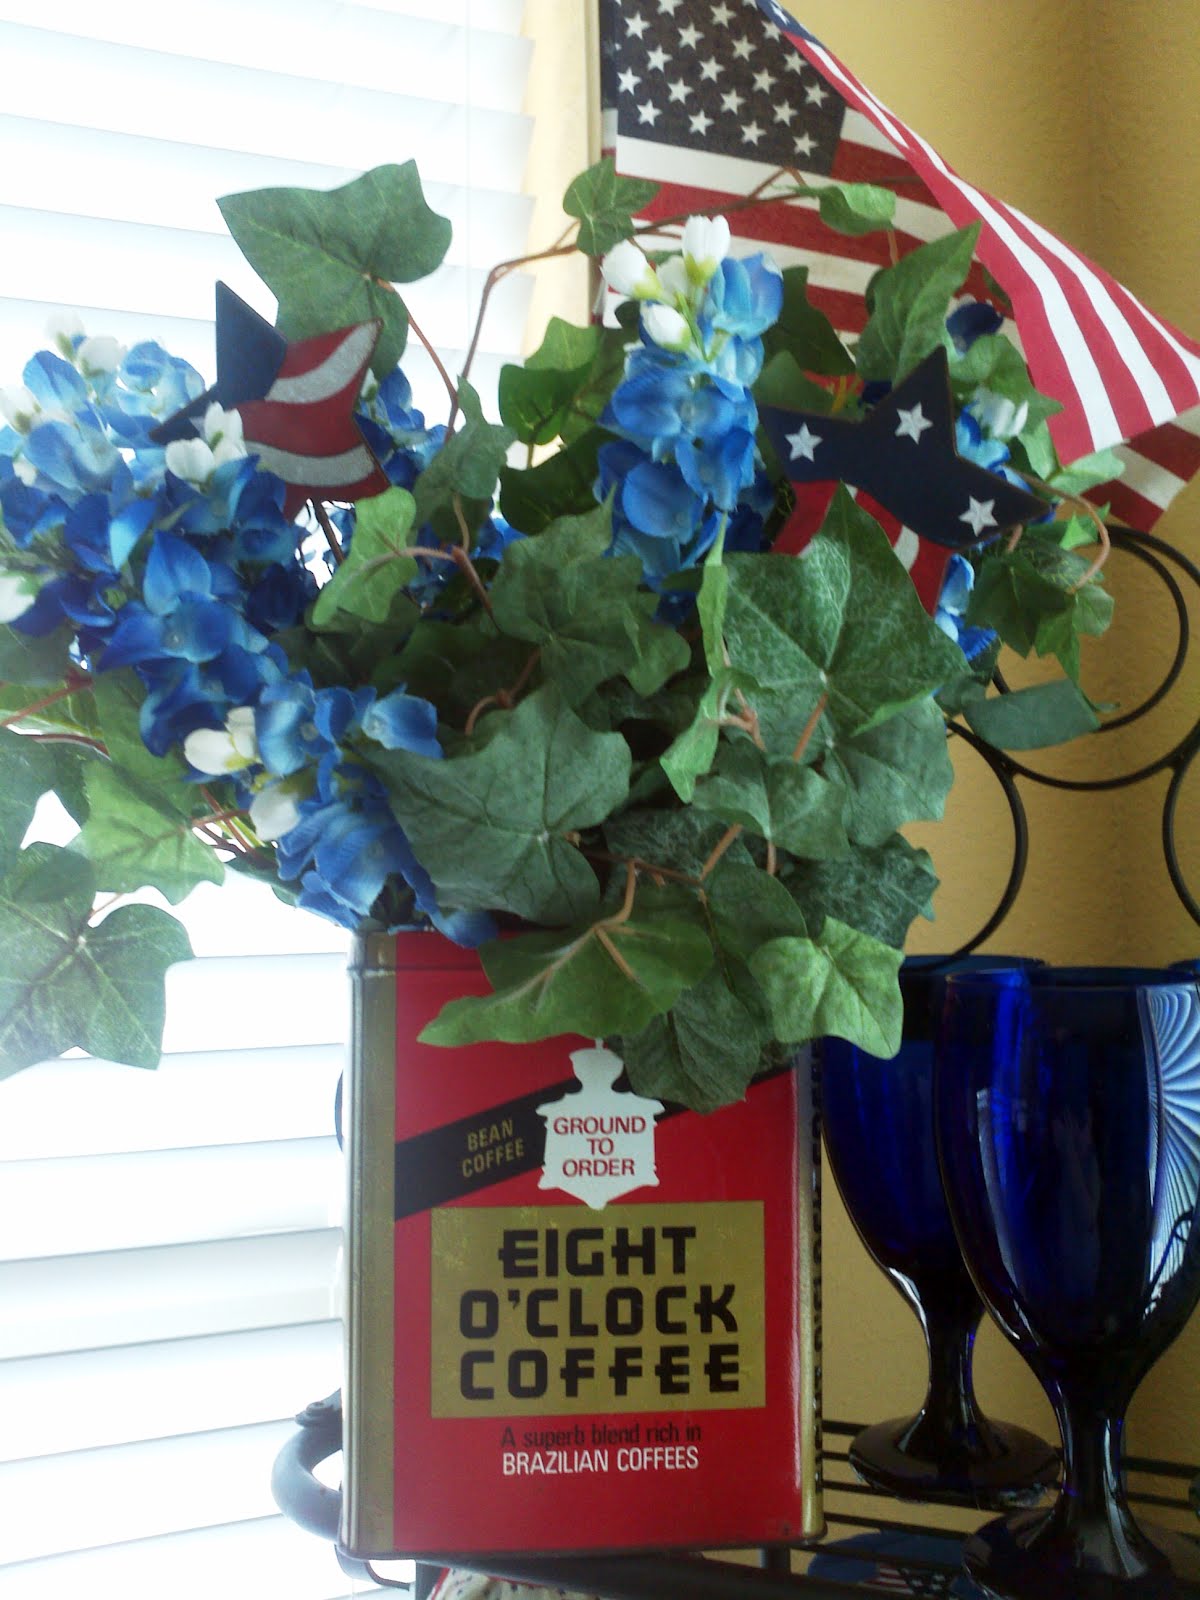
When my parents moved from the old homestead some years ago, I found myself rummaging around in their barn. Barns are great places to find amazing treasures. Slated for the dumpster was an old Eight O’clock Coffee tin. There’s no telling how old the tin is, but it’s price, still marked on the bottom was 99 cents. Eight O'Clock Coffee is the brand name of the light roast of coffee introduced by the American supermarket chain A&P in 1859. I’m guessing that it came from paternal grandparents homestead since A&P was the only grocery store near Sulphur Springs for years. The brand still exists, but it’s no longer sold in a tin, nor is anywhere near 99 cents. However, the tin itself is worth what I pound of Eight O'Clock Coffee sells for today – about $25.


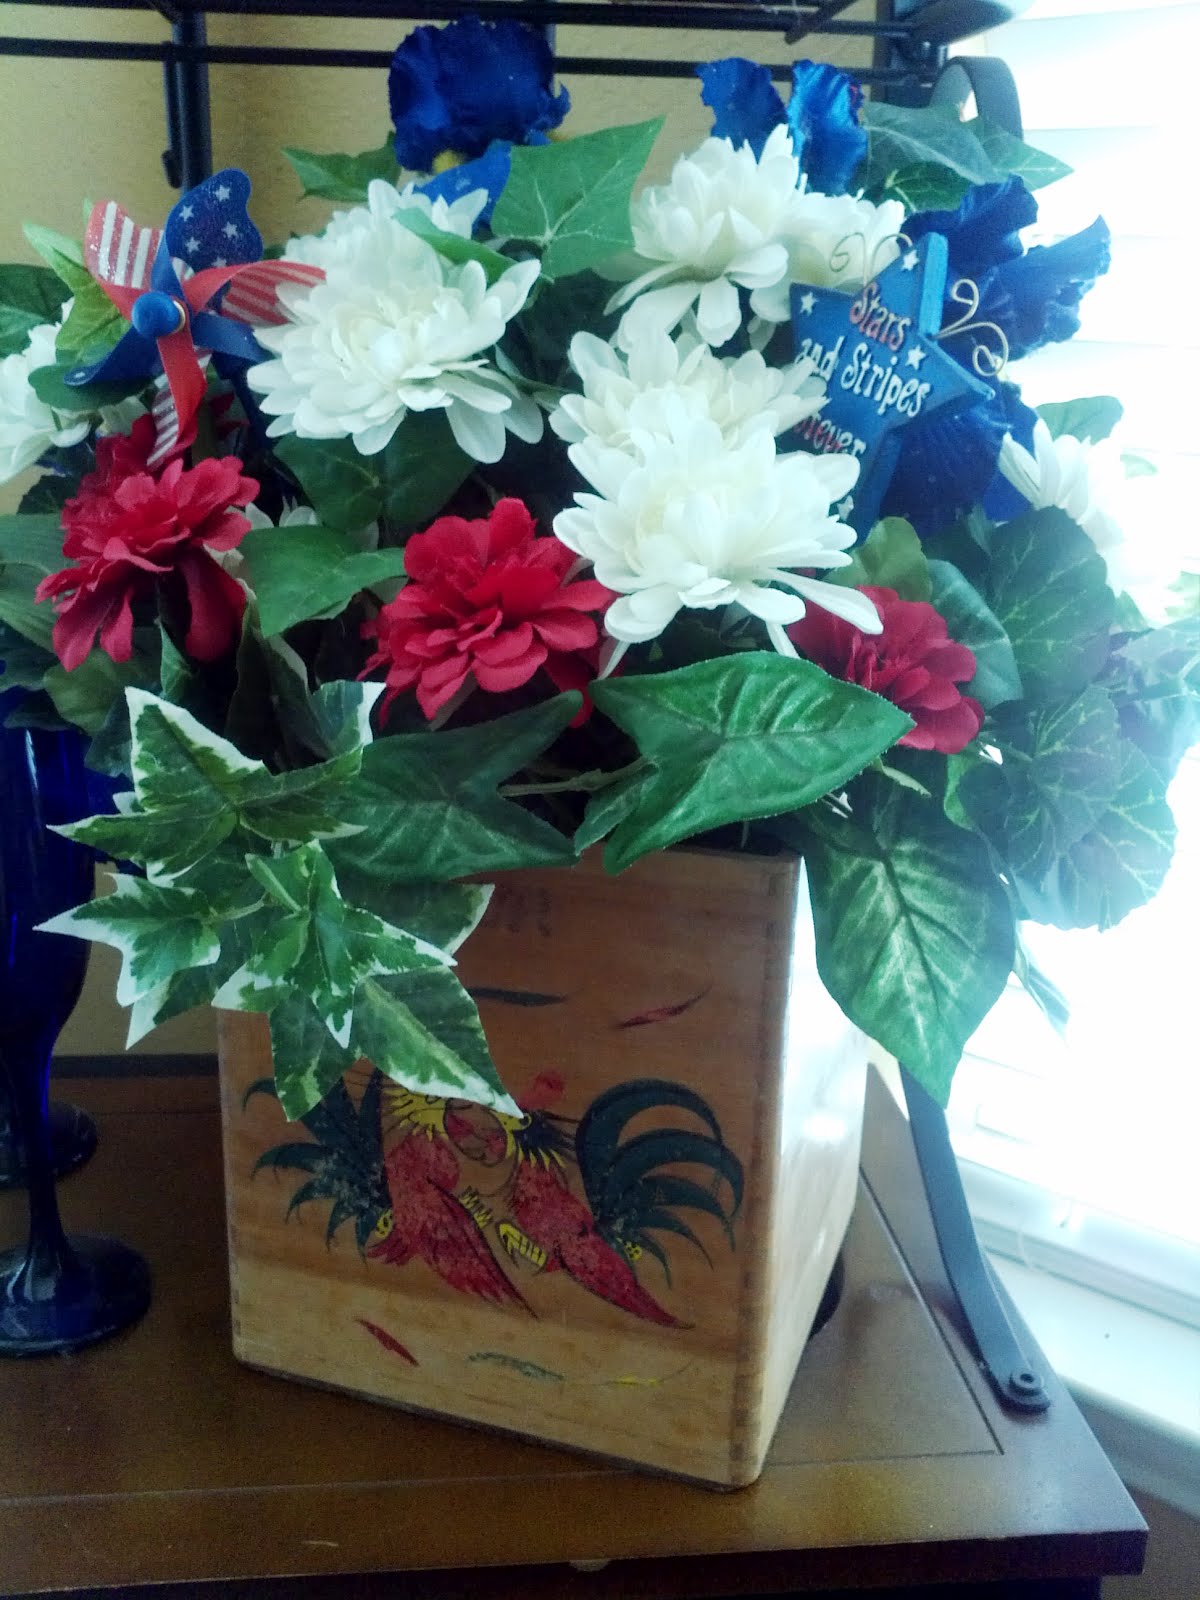
I also found a vintage wooden canister set with two red, yellow and green roosters on the front. I seem to recall my dad telling that it they were dug up on a job site somewhere in America years ago. At any rate they were dirty, but otherwise in good shape. After reaching the find, I discovered that they three canister set was made in Japan circa 1950. The complete four piece set – which I have – is worth about $50.


Not one to let such treasures hide away, I used them as pots to create greenery arrangements: Silk greenery with red, white and blue flowers, garnished with a few seasonal picks. Every year, I trot them out as part of my summer decorating scheme. This year, they’re going on my free standing wine rack.

Yup, somebody else’s trash is my treasure.

Saturday, May 26, 2012

Create With Paint


Just in time for Memorial Day, here’s an idea for rustic bird house. I’m not much of a birdhouse fan, but when I find something irresistibly cheap, I grab it and stash it away. I never know when I might come up with a use for it.

When I created this piece, I didn’t set out to create a patriot piece, it just turned out that way. I was more interested in trying out some new painting techniques, so let’s talk about what I learned doing this piece.

I wanted to experiment with staining over paint. With masking tape, I striped off a wide columns on the sides and back so I could compare the painted stain against the stain over the unfinished wood. I painted the untapped sides a bright red. Just for contrast, I painted the front a bright blue. I put down three coats and let the paint dry between each layer. When the paint was completely dry – about 24 hours, I rubbed in the stain, a cherry wood, with a terry cloth rag. Again, I applied three coats, waiting a day between each coat. (Note: make sure to wear rubber gloves when working with stain. It’s sticky and doesn’t come off easily.)

I was pleasantly surprised with the outcome: a convincingly weathered look. Still it didn’t look finished. I glued down some unfinished pre cut wood stars to the front. Once glued down, I applied the stain. Unfortunately, the stars are light balsam wood, a different wood from the birdhouse, and would take the stain. I applied a couple of coats before giving up and painting the stars white. It was more difficult painting the stars after they were already fixed to the birdhouse, but I couldn’t pry them off either. After the paint dried, I layer stain on top of that.

I’m pretty happy with the end result, considering I didn’t have an end result in mind. Sometimes, you just have to experiment. Who knows what you’ll come up with. I’m likely to repeat this technique for something for fall or Halloween.

Saturday, May 19, 2012

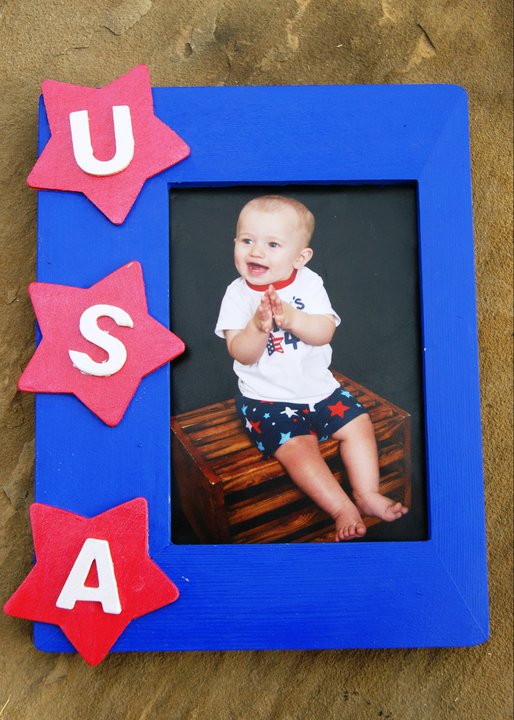
Patriotic Picture Frames

Shortly after Christmas, I picked up several wooden frames just because they were on clearance cheap. They were destine for craft stash, but ended up in the floor of my craft room. This week, I got tired of tripping over them and decided to create something for my summer decorating theme.

There’s all sorts of summer decorating themes… beach and fruit are two of the most popular. I go a different direction. From Memorial Day to Labor Day, my interior decorating them is patriotic. By decorating around a patriotic theme, I cover all of the major summer holidays – Memorial Day, Fouth of July and even Flag Day.
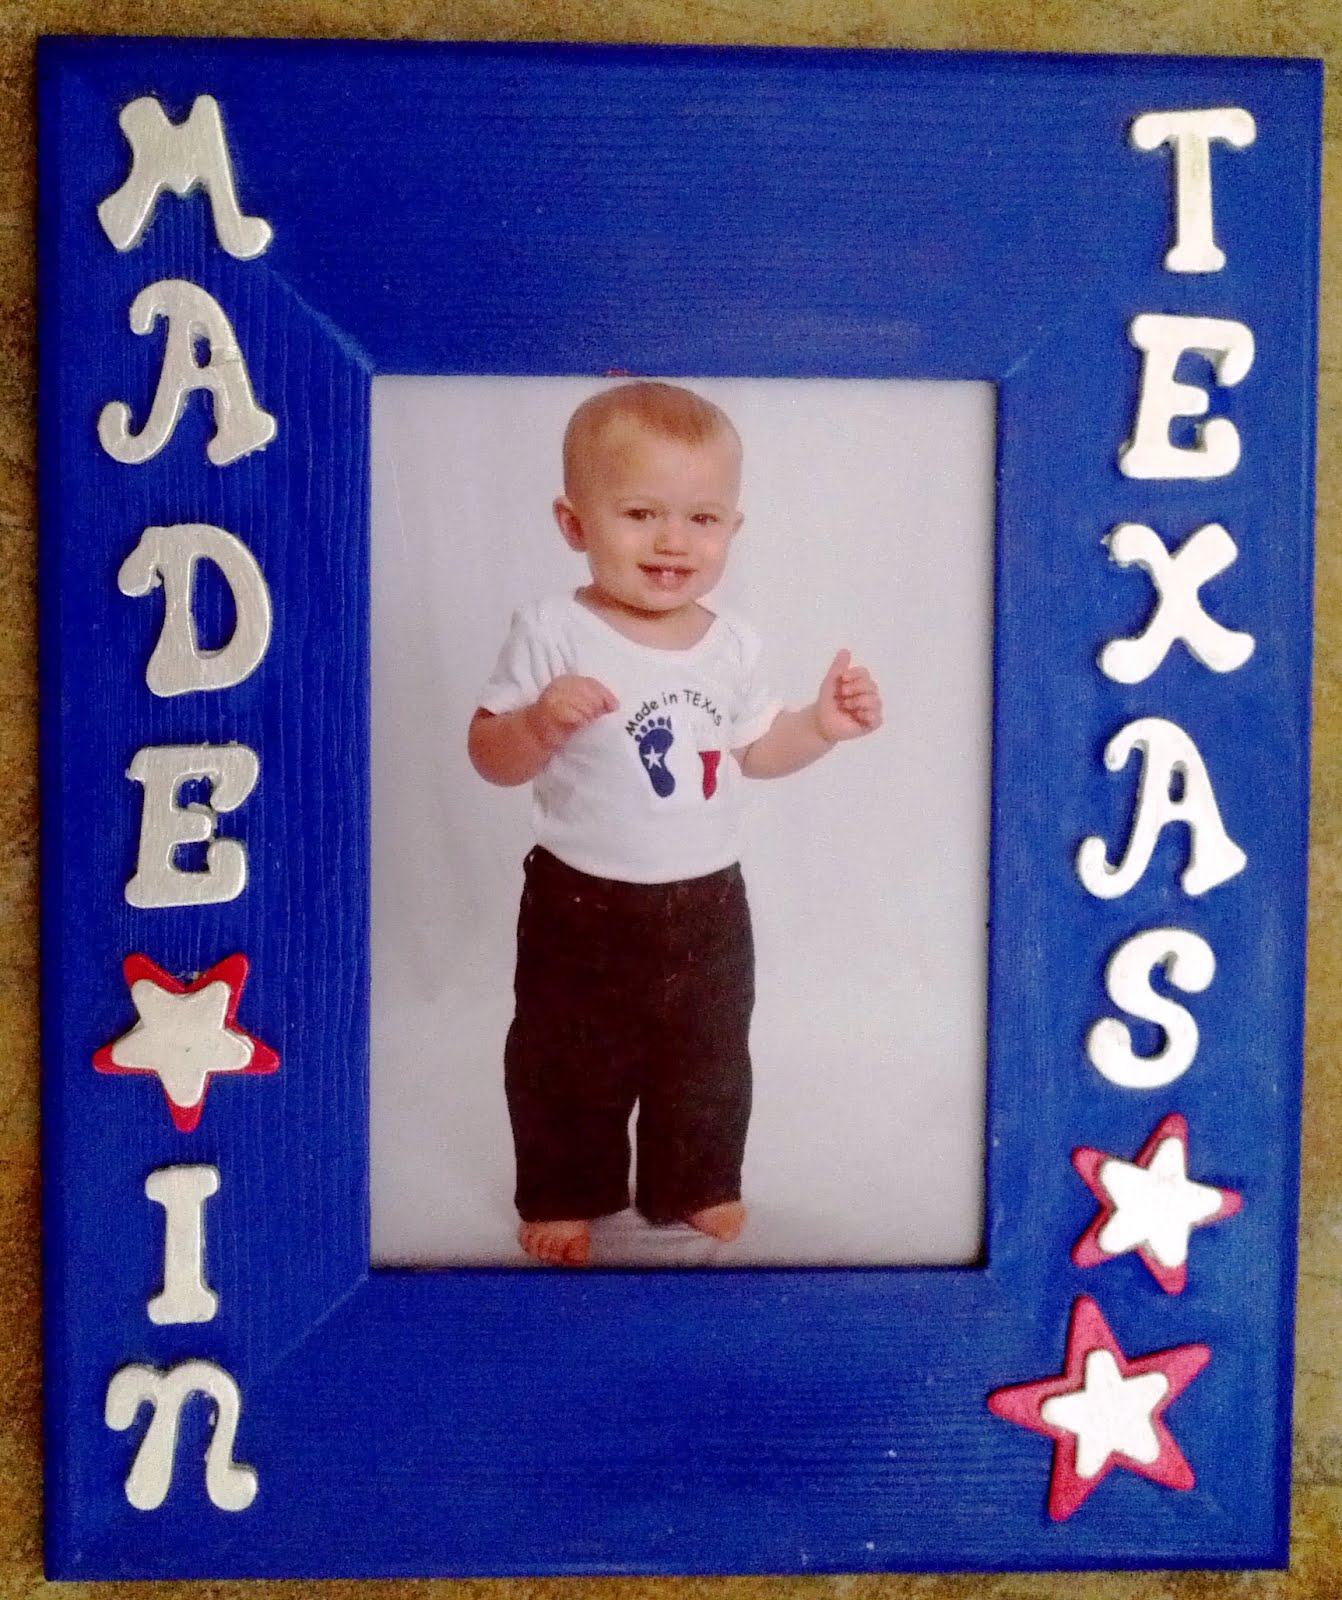
For this framing project I drew inspiration from my Texas Star and Rustic Valentine. I also was able to use a lot of the crafting supplies leftover from those projects, including the paint, the small star cut outs and the wooden lettering, which coincidently are patriotic colors. I had a pile of kid and grandkid photos that would fit into the theme as well.

First I match the frames to the photos. Then I matched the paint to the colors or theme in the photo. For the baseball photo, I painted the frame Texas Ranger red. The other photos seemed to work best with the bright blue. I painted all of the frames at once, and allowed them to dry.


While the frames dried, I sorted through my leftover letters to spell out something that made sense. “Made in Texas” and “My Airman” were obvious – and I was lucky enough to have all the letters I needed. “USA” was easy as well, but picking out something baseball-y, well that required the assistance of John. For two or three days, we struggled with words. John desperately wanted to spell out “Slugger,” but I didn’t have all the required letters – and I was determined to use up what I had rather than buy more. Then we tried “First Base,” and “Coach.” Finally John pieced together “Homerun” and that fit!


We used silver metatic acrylic craft paint on the pre-cut wood letters and some of the small pre-cut stars and bright red on larger pre-cut stars I purchased at Michael’s. Once dry, about six hours, I glued the letters stars to the frame using wood glue. When the glue had set up, about two hours, I sealed the whole thing by painting it with a layer of white craft glue and let it dry overnight.


Once the frames were dry, I trimmed the photos to fit inside the frames and then using masking tape, sealed the backsides so the photos could be handled without falling out.


Saturday, February 25, 2012

A Texas Star


Did you know that the Texas will be 176 years old next week! March 2, is the celebration of the adoption of theTexas Declaration of Independence, declaring itself independent from Mexico. Even though state joined the United States a decade later, Texas Independence Day is still an official holiday in the state of Texas.

In celebration of this uniquely Texas holiday, I thought I’d share a quick little craft idea. This Texas Star is a variation of the rustic Valentine heart. I purchased this wooden star a couple of years ago in Canton for 50 cents at the same time I purchased the wooden heart. It too got stuck away in my craft stash. Fortunately wooden star cut outs are easy to find year round.

I painted the star a bright blue, using acrylic craft paint. I let it dry for about four hours. While that was drying, I used white acrylic craft paint on the pre-cut wood letters and bright red on the pre-cut heart I purchased at Michael’s. Once drive, about six hours, I glued the letters and heart to the star using wood glue. When the glue had set up, about two hours, I sealed the whole thing by painting it with a layer of white craft glue and let it dry overnight.

I put it on the fireplace as a reminder of holiday.

Saturday, February 11, 2012

Rustic Valentine

Even though Valentine’s is just around the corner, there’s still time to create a one-of-a-kind Valentine for your true love, that be used for decorating year after year.

I purchased this wooden heart a couple of years ago in Canton for 50 cents, and stuck it away in my craft stash. I also have a stash of fabric cut outs, which includes multiple sizes fabrics. At this time of year, wooden and fabric hearts are easy to come by.

I painted the base of the heart a deep red, using acrylic craft paint. I let it dry for about four hours. Then I used fabric glue to attach the bigger of the two hearts to the wood. With fabric glue, make sure that you coat the entire surface that you want to glue down. Once you have the fabric heart placed where you want it, smooth out the bubbles. I just used my fingers to smooth out the bubbles and shape the heart. I let that dry overnight and then in the morning, I glued down the second heart, again using fabric glue and smoothing out the bubbles.

While I let the second heart dry, I painted pre-cut wood letters. For this project, I used a paint pen, but next time, I’ll use acrylic craft paint or maybe just spray paint. I set aside the letters to dry as well.

Once the letters were completely dry, about 12 hours, I used a fine-tip black Sharpie to outline the edges and paint the sides. While those were drying, I used the white pen to seal the edges of the fabric hearts and outline the wooden heart. Again, I waited 12 hours to let the paint dry. I used the black Sharpie to outline the fabric hearts. Once dry, I used fabric glue to place the letters. I sealed the whole thing by painting it with a layer of white craft glue.

Now I have a cute, rustic Valentine that I can use year after year.

While I love the result, the paint pen was difficult to control. I’d use fabric paint next time.